What is a PID and why did you do this?
A PID controller is an industrial temperature controller. The acronym stands for "proportional-integral-derivative" but it's not necessary to understand the math involved to make use of these things. For more information see:http://en.wikipedia.org/wiki/PID_controller
Installing PID's on espresso machines to improve the temperature control is a fairly common practice, especially with owners of Rancilio Silvia machines. Recently, I installed a PID temperature controller on my Silvia following one of the many online guides:.
http://www.murphyslawonline.com/silvia/
Parts List:
Wintersteiger Iron: $46 shipped from this eBay store. I chose this iron because it was cheap yet seemed to have a substantial hunk of metal. It is said to be identical to the $70 TOKO Wax Mouse.Auber Instruments PID: $33 from auberins.com. This is the same controller I used in my Silvia. It's the cheapest retail price I've seen. It's possible to get great deals on eBay especially for used PIDs. It's important to buy a PID that can output to a Solid State Relay (SSR). The relay-only PIDs can not handle the current involved in this application.
Documentation for this PID (and other good stuff) available here:
Auber Instruments Solid State Relay (SSR): $15 from auberins.com. SSRs are sold by their current handling capacity. I chose a 25 Amp SSR for this application. Check the specifications to make sure that the SSR is compatible with the DC voltage signal coming form the PID on the input side, and can handle 120 VAC on the output side. This is a good price and buying all three electronic parts from Auber saved me on shipping.
Auber Instruments T-type washer style thermocouple: $10 from auberins.com. These washer style thermocouples can be bolted to whatever surface you'd like to measure temperature. Make sure that your PID can handle the thermocouple type chosen. T-type and K-type are commonly used.
Misc: A plastic project box, wire and connectors. ~$10.
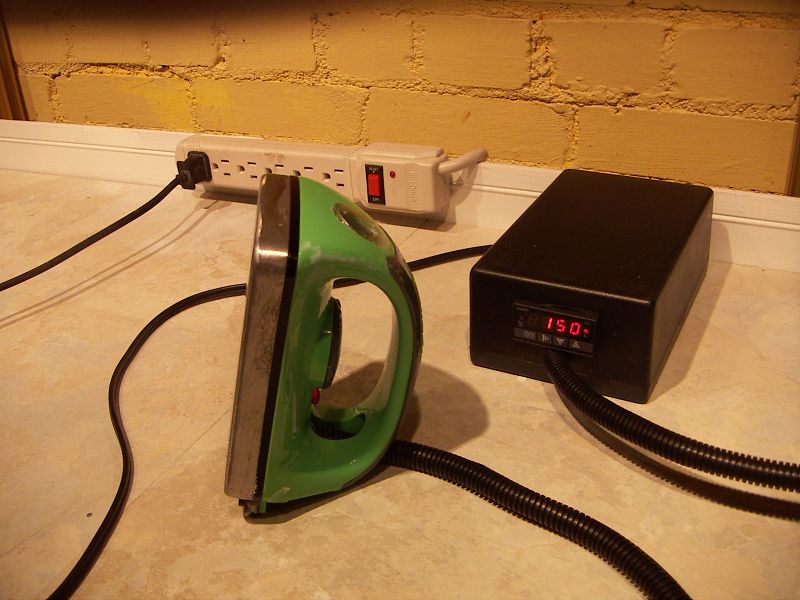
What does it look like?
This is Bret's PID Wax Iron Mark II. I've lengthened the cord to 50" and used a larger enclosure for the PID and SSR that actually encloses everything. I've also enclosed the power cord and thermocouple lead inside a flexible plastic housing. I need to improve the strain relief on the enclosure but otherwise it's pretty much done. A smaller enclosure would be nice, but no big deal. I showed it to my wife and she said, "I don't care as long as you wax my skis". Disregard the calender which is showing January, 1997. BTW, did you notice how much nicer my work bench is this year.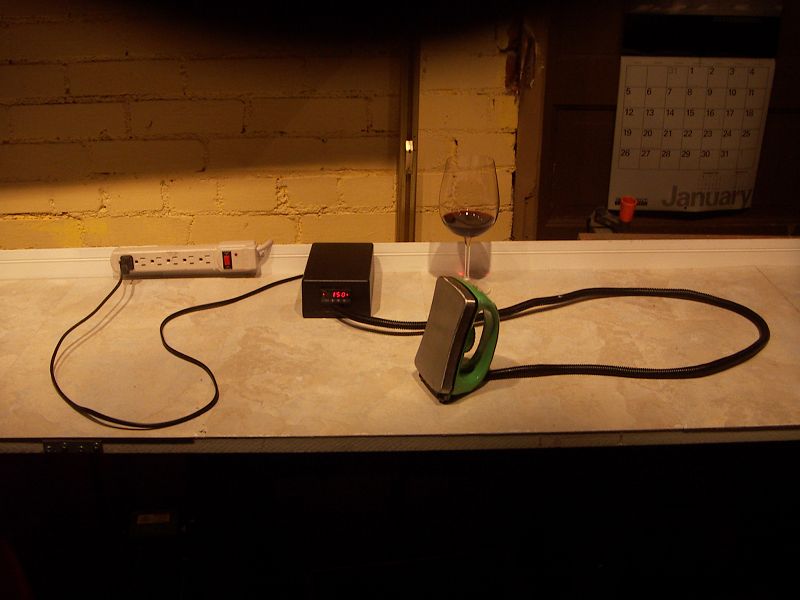
Where did you mount the thermocouple?
On the inside of the iron, there is a small hole on the top side of the base. It's unthreaded, but it is just the right size for an M4 bolt to screw into and create new threads. An M4 bolt is used to attach water bottle cages on most bicycles. I took a water bottle cage bolt (I have lots of bike parts lying around) and cut it down for this application. I used a thermal paste between the thermocouple and base to ensure good thermal conductivity.
How does it work?
First, I'll describe the behavior of the iron out of the box. It had a clever mechanical thermal switch that would toggle a contact open and closed based on the temperature dial setting, controlling current to the heating coil. It wasn't very accurate. An indicated 150C was actually 130C and the temperature would vary 8C as the switch opened and closed during a 2 minute cycle. Even with the PID initially set up as a thermometer, monitoring the temperature, it was very difficult to get to the desired temperature using trial and error.When I added the PID, I simply disconnected the two wires from the mechanical switch and shorted them together. Then I had the PID/SSR combo provide line power or not based on the thermocouple temperature feedback. Now, the iron converges to whatever set point temperature I plug into the PID. It only occasionally wanders 1C away from the set point.
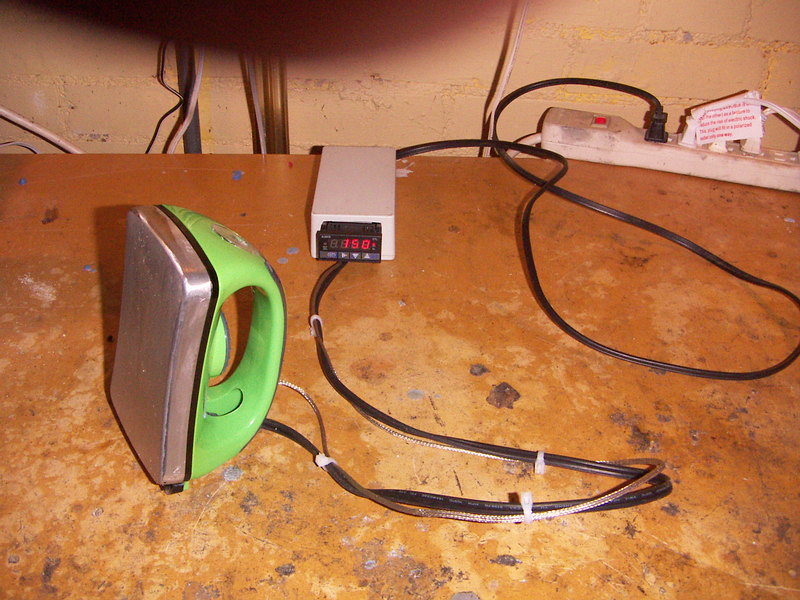
What would you do differently?
The project box isn't quite large enough to insert the PID flush with the front surface. I'll get a slightly larger box. I would also get a thermocouple with a longer lead. My original thought was to mount everything on the iron, which would have been very unwieldy. It was only when I started construction that it occurred to me that the PID/SSR didn't really need to be on the iron (Duh!). A longer lead would allow the iron to travel the length of the ski without dragging the project box around with it. I haven't actually waxed a ski with this yet, so I'm not sure how bad it is.
 This
page has been tested with Firefox and Exploder. Other
browsers
may not display the sliding menu bar. - Bret Wade
1/14/07
This
page has been tested with Firefox and Exploder. Other
browsers
may not display the sliding menu bar. - Bret Wade
1/14/07